CALL (254) 550-4142
Tesla Model Y “Track Pack” Ceramic Pro Kavaca Paint Protection Film Installation
One very well-documented issue that owners experience with their Tesla’s is thin or finicky paint, which is prone to defects and other issues that make them prime candidates for clear bra/paint protection film. Much like how General Motors has to make some sacrifices to bring the Corvette and Corvette Z06 to the public for affordable prices (compared to their supercar counterparts like Porsche 911 and others), Tesla needs to be able to try and bring the Tesla Model 3 to the masses so people can afford an electric vehicle (EV). We step in to solve this problem by installing our Ceramic Pro Kavaca Paint Protection Film.
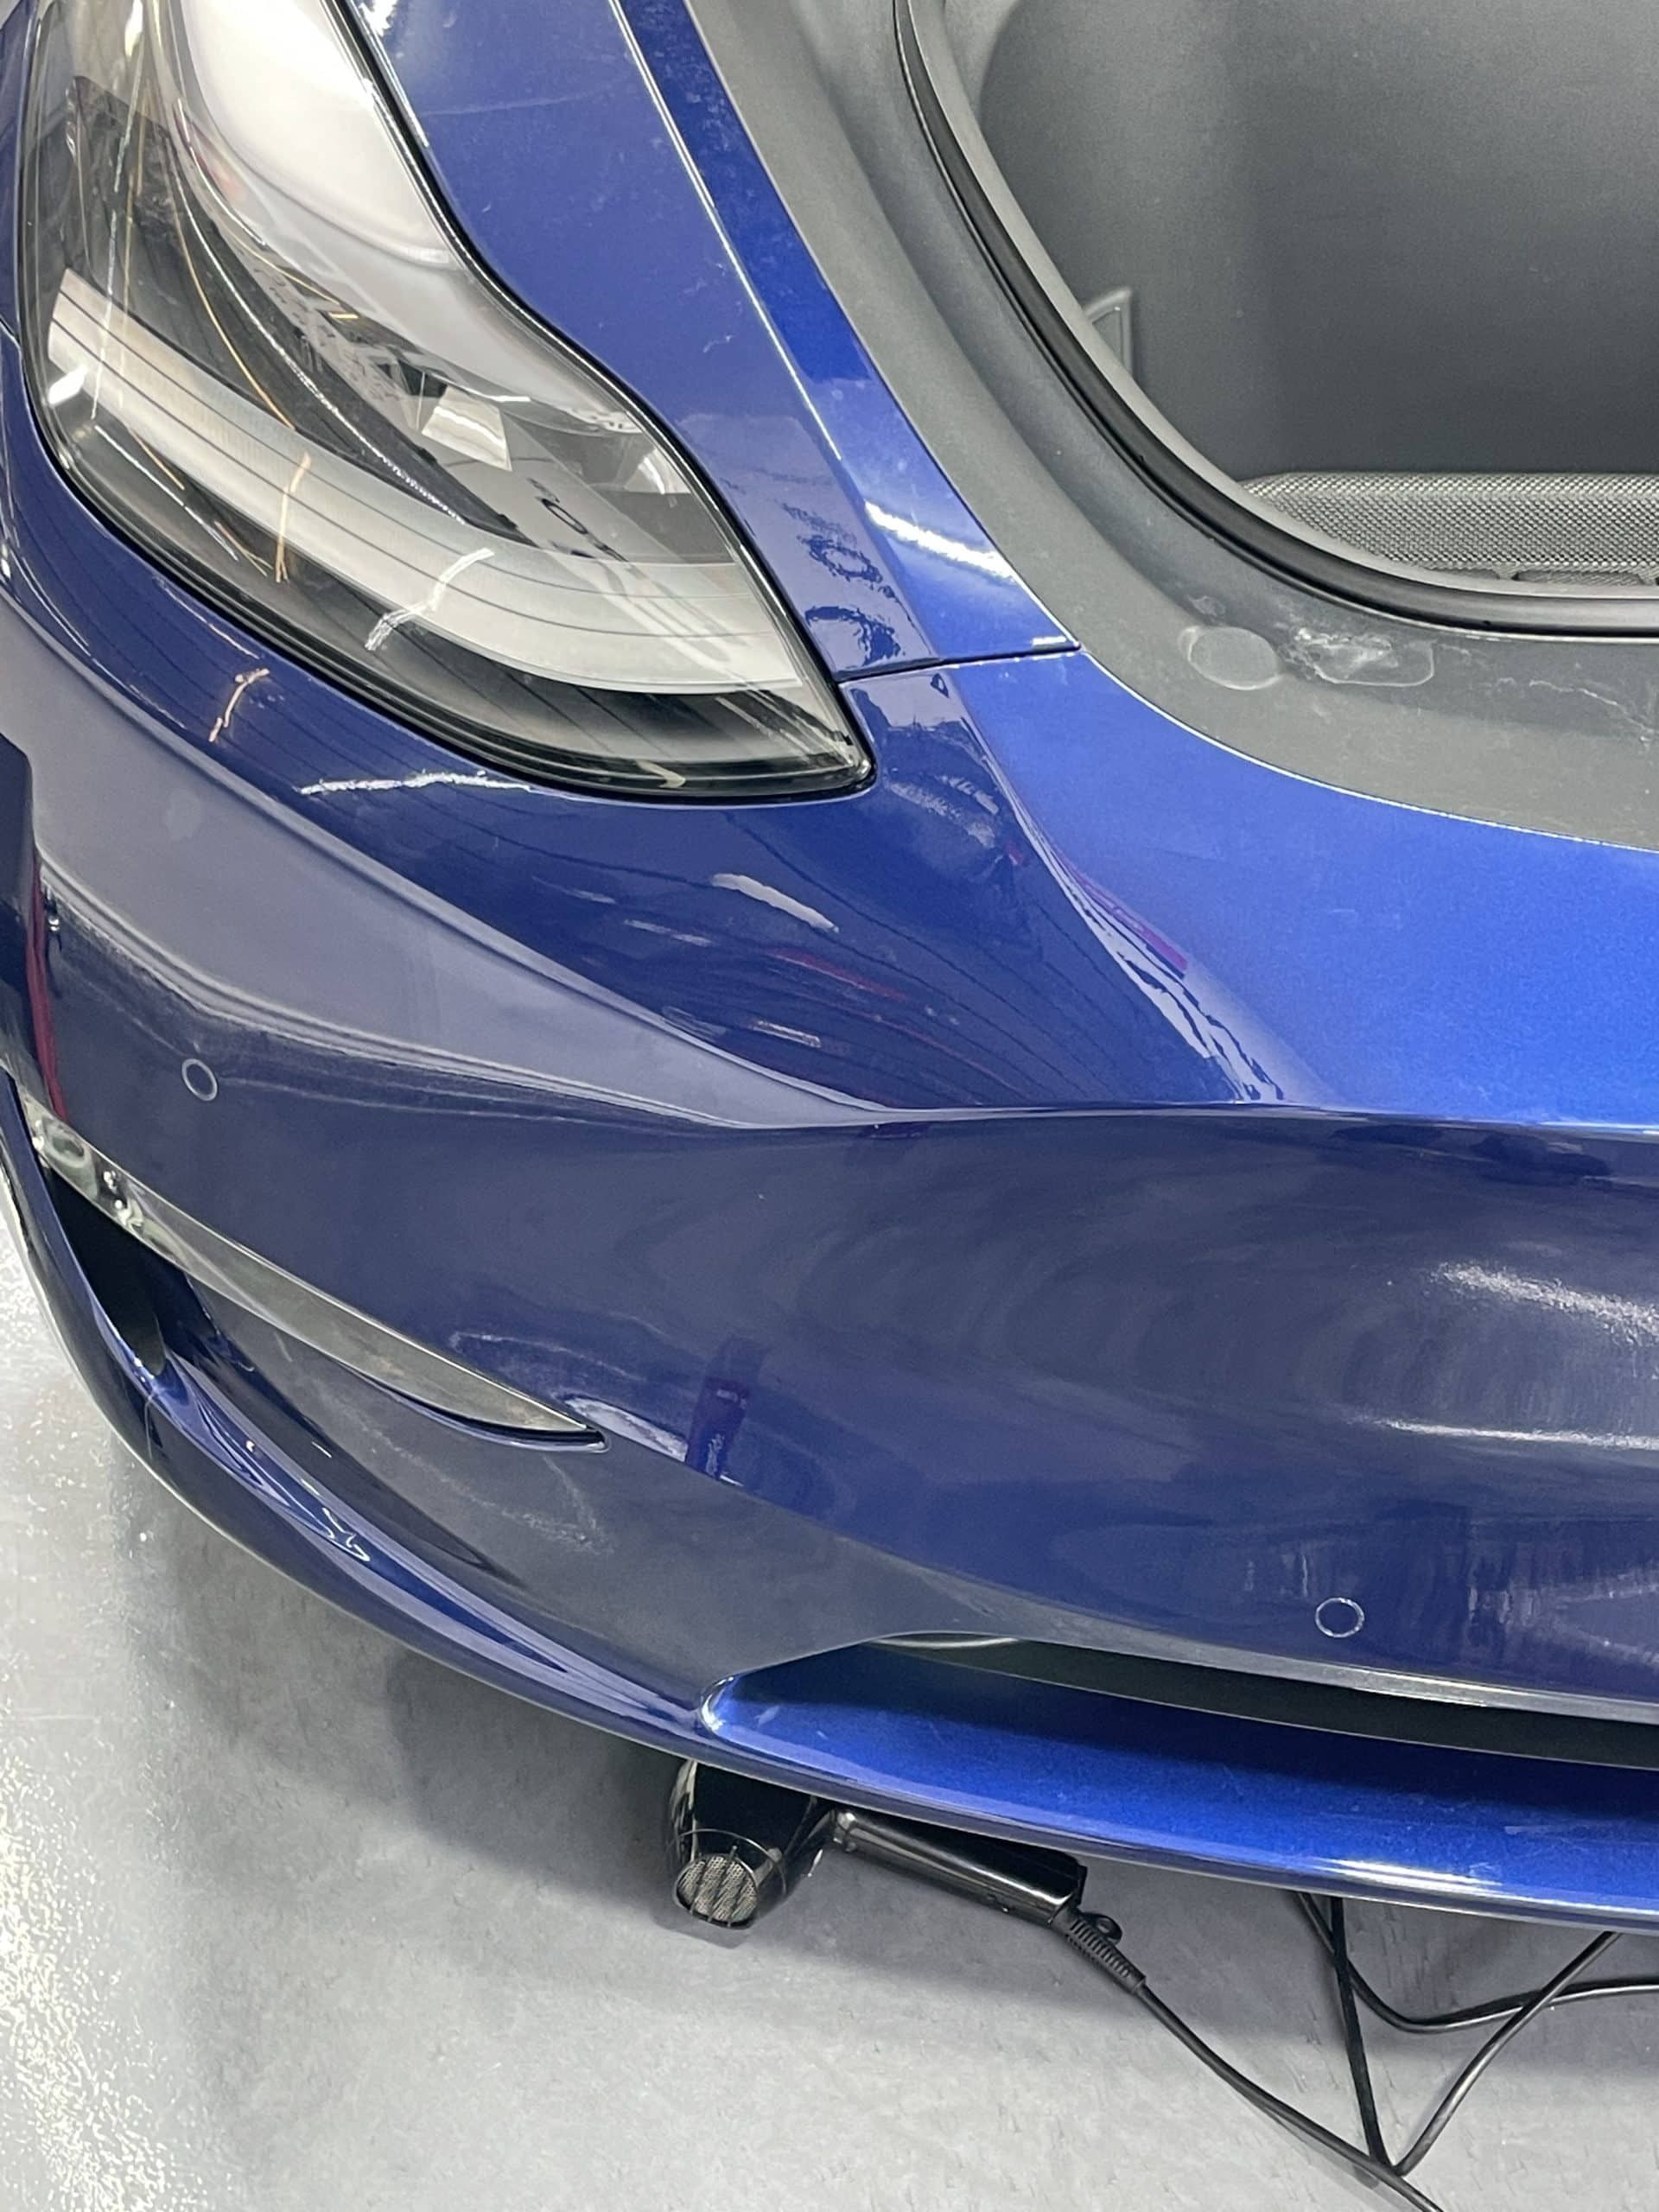
As a whole, one of the most popular brands that seeks out PPF is Tesla and Tesla owners. Many owners decide to bring their Teslas straight to clear bra installers from the vehicle lot before they can get rock chips from highway driving. In this instance, this Tesla Model Y performance owner received a rock chip in the front bumper fairly early on in ownership and decided they didn’t want a second or subsequent chips. So popular is clear bra with Tesla owners that one of our next vehicles is also a Tesla Model Y in the same exact color (but that one will be a Long Range model). So you may have deja vu if you follow our social media pages (@hhceramiccoatings on Instagram, Facebook, and Tiktok). That particular Tesla Model Y will not even be driven on the street (except to drive from Copperas Cove at the owner’s house to Harker Heights) prior to us installing paint protection film.
Installation
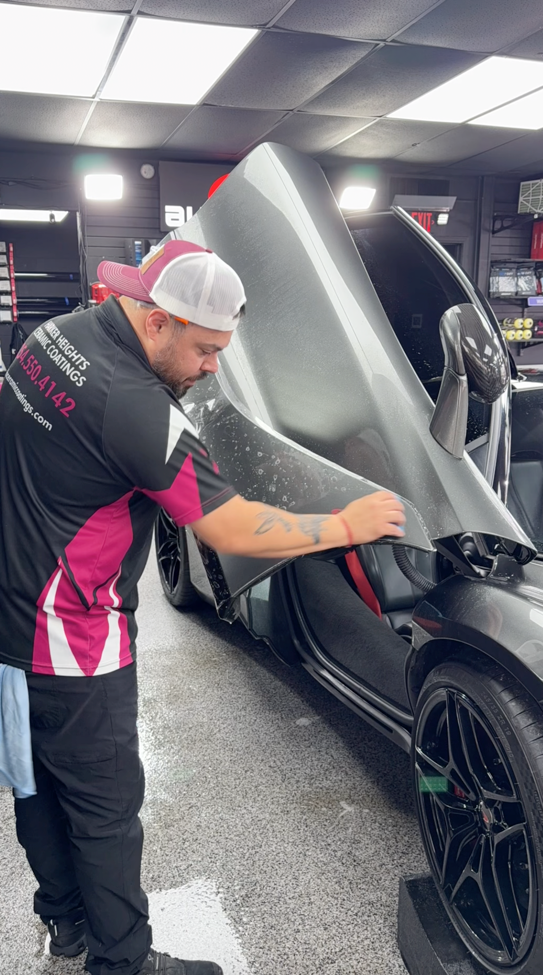
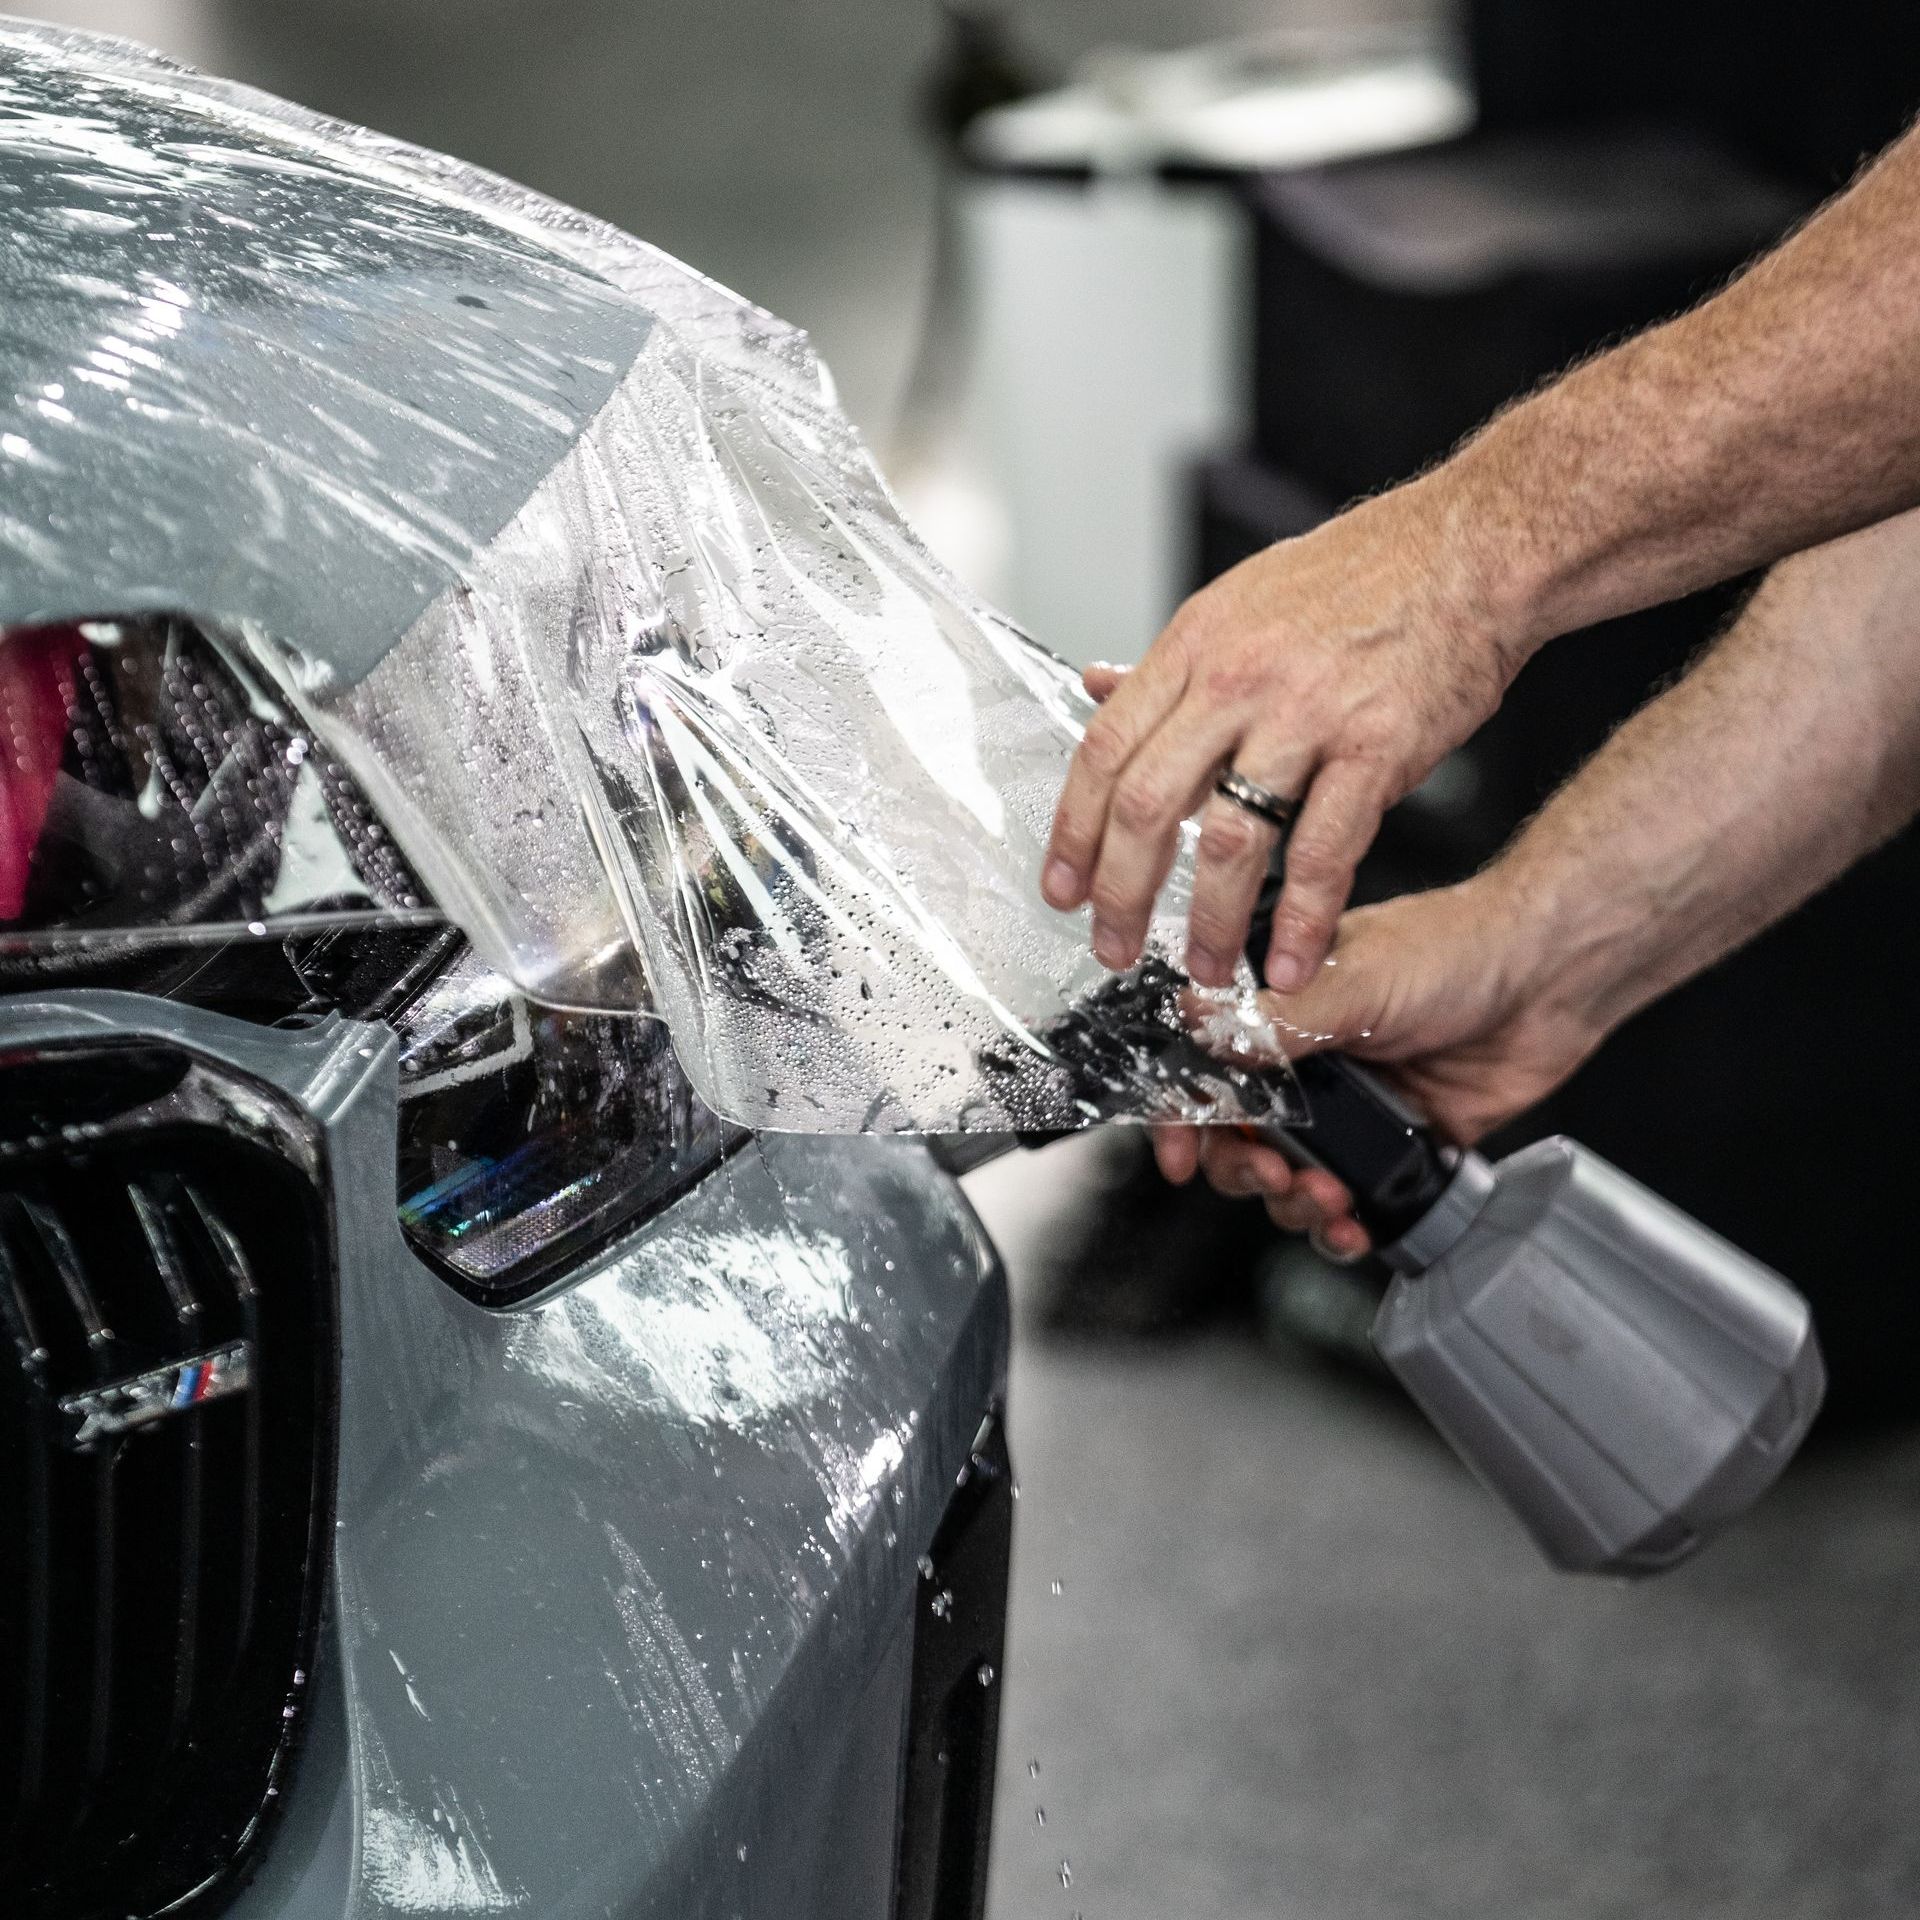
At first glance, looking at the Model Y, or any Tesla for that matter, you might think that the front bumper is a very easy installation (as we did), but it is not. The bumper is a very large and wide bumper, and due to the nature of Ceramic Pro Kavaca Paint Protection Film software patterns, there is a tendency to need to stretch the material. Having an exact-match is not conducive to finishing off an installation, as it leaves excessive material “fingers” and other issues. So how PPF pattern manufacturers overcome this, is by having installers stretch the material. In the instance of the Tesla Model Y, it is quite a stretch and proved to be far more difficult of an install than would otherwise be expected.
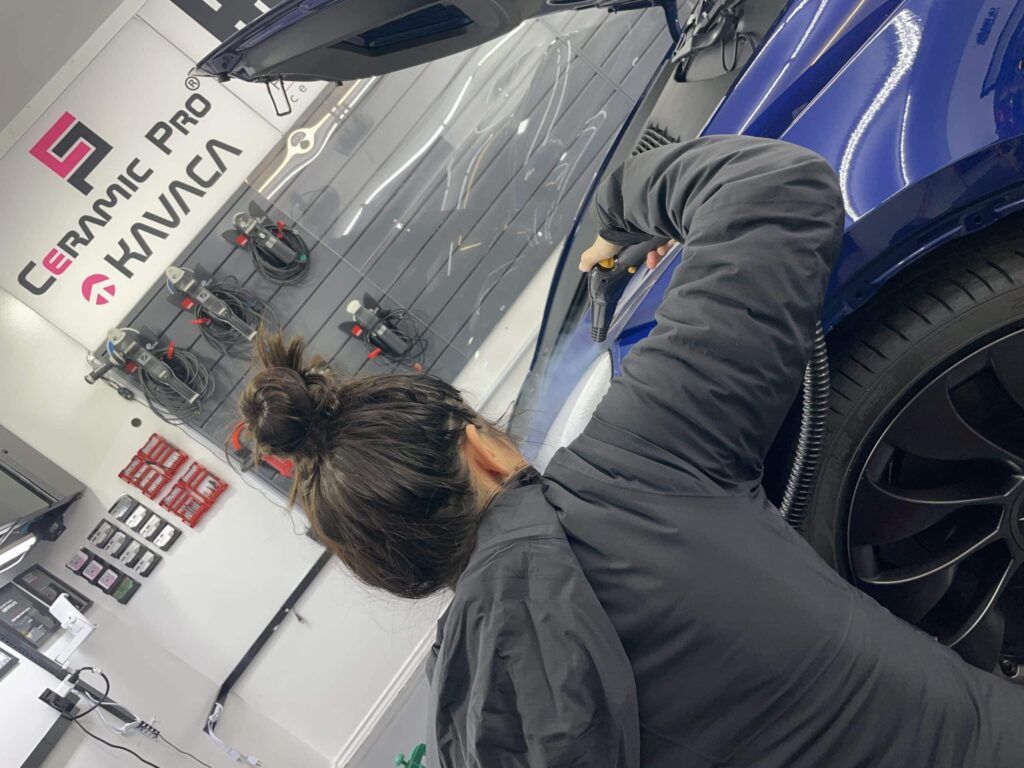
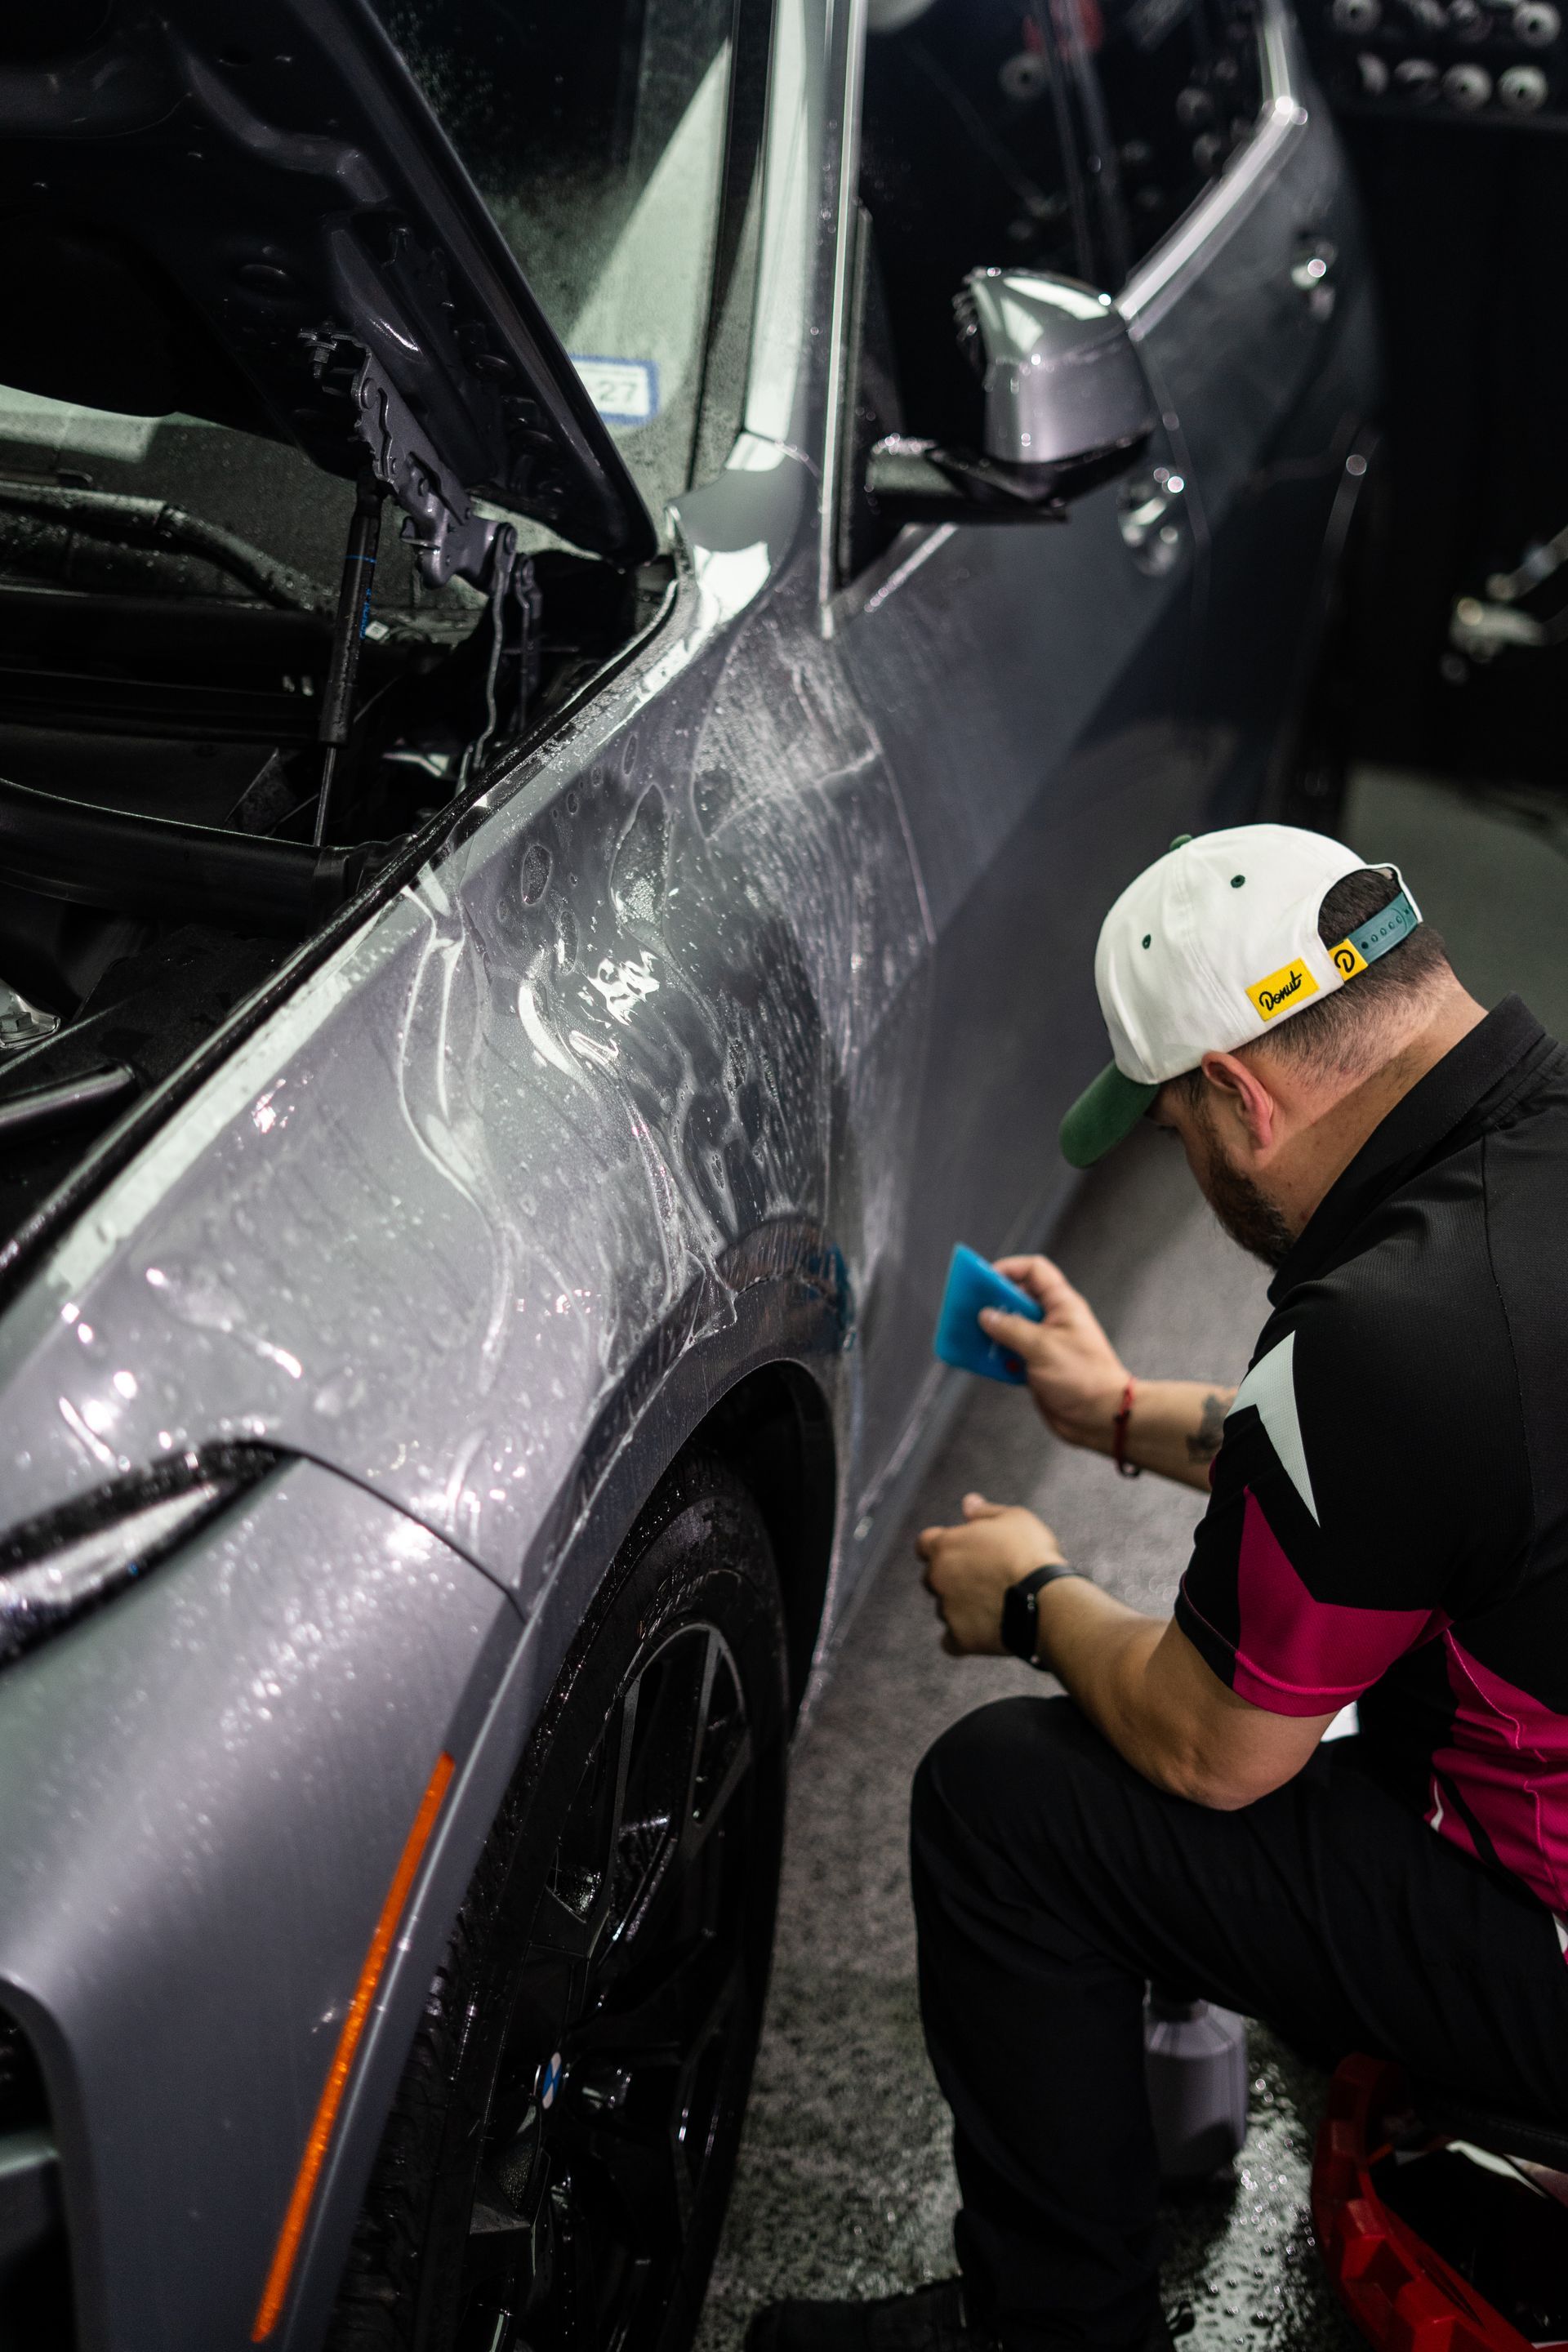
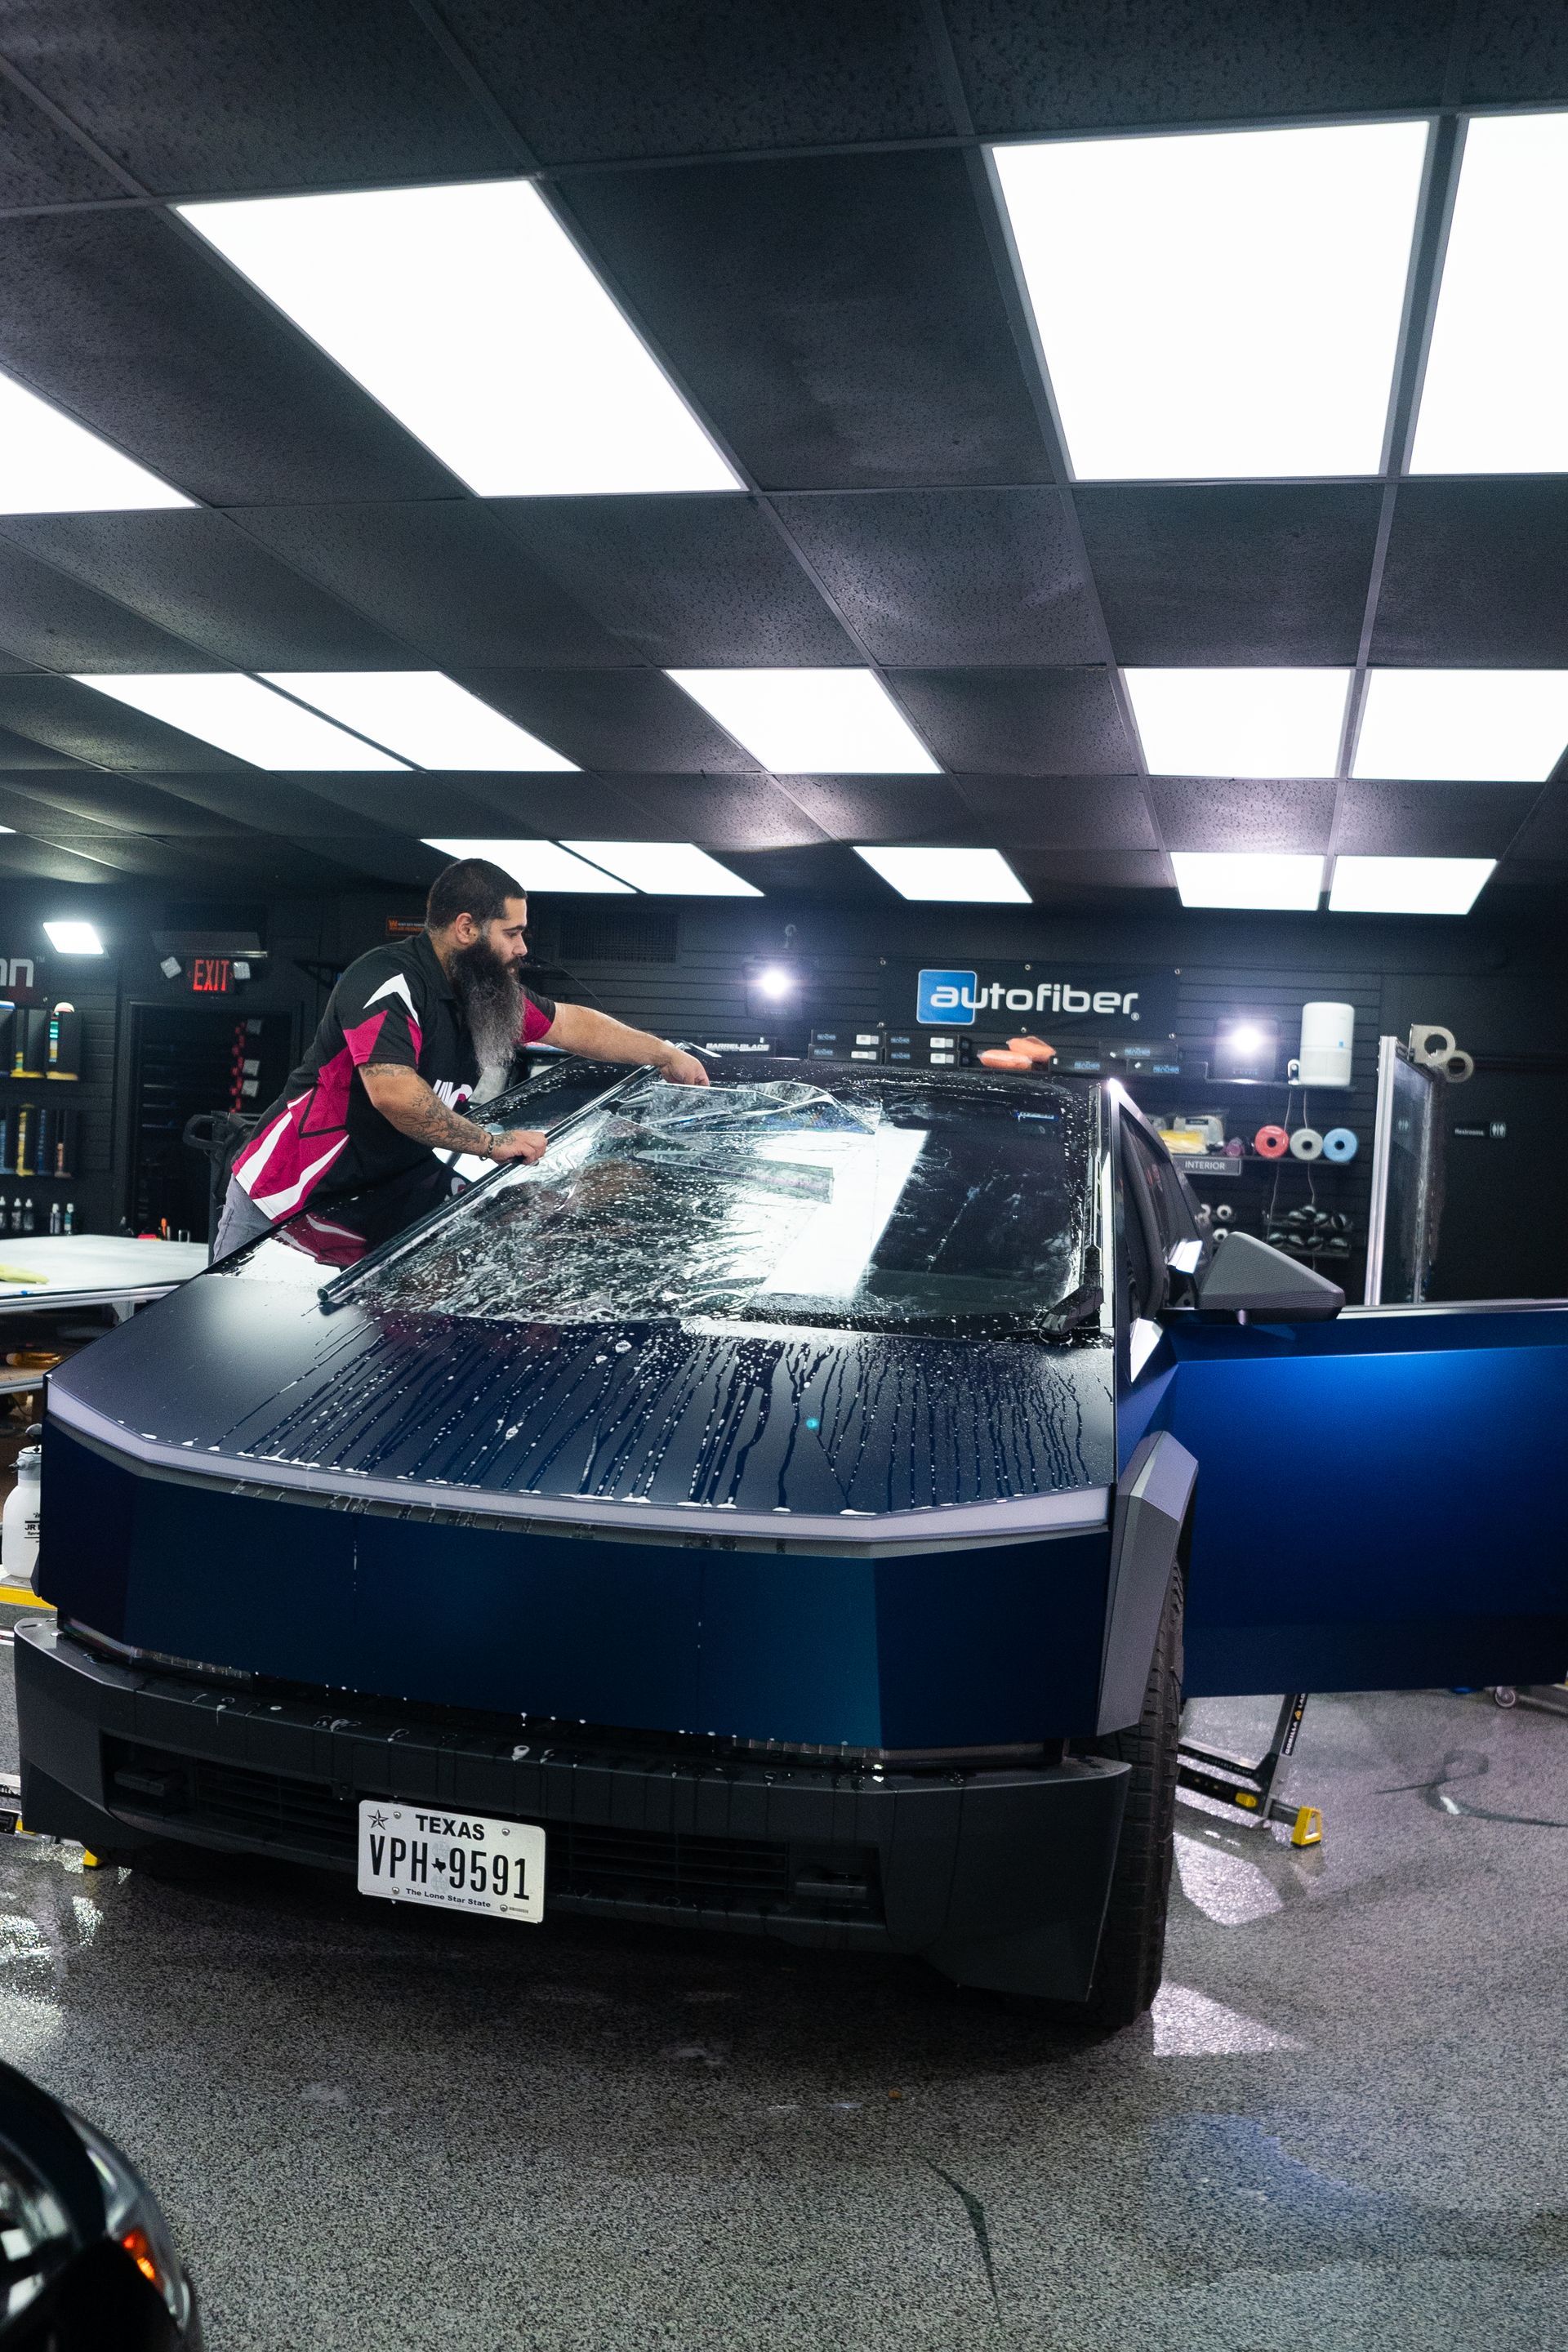
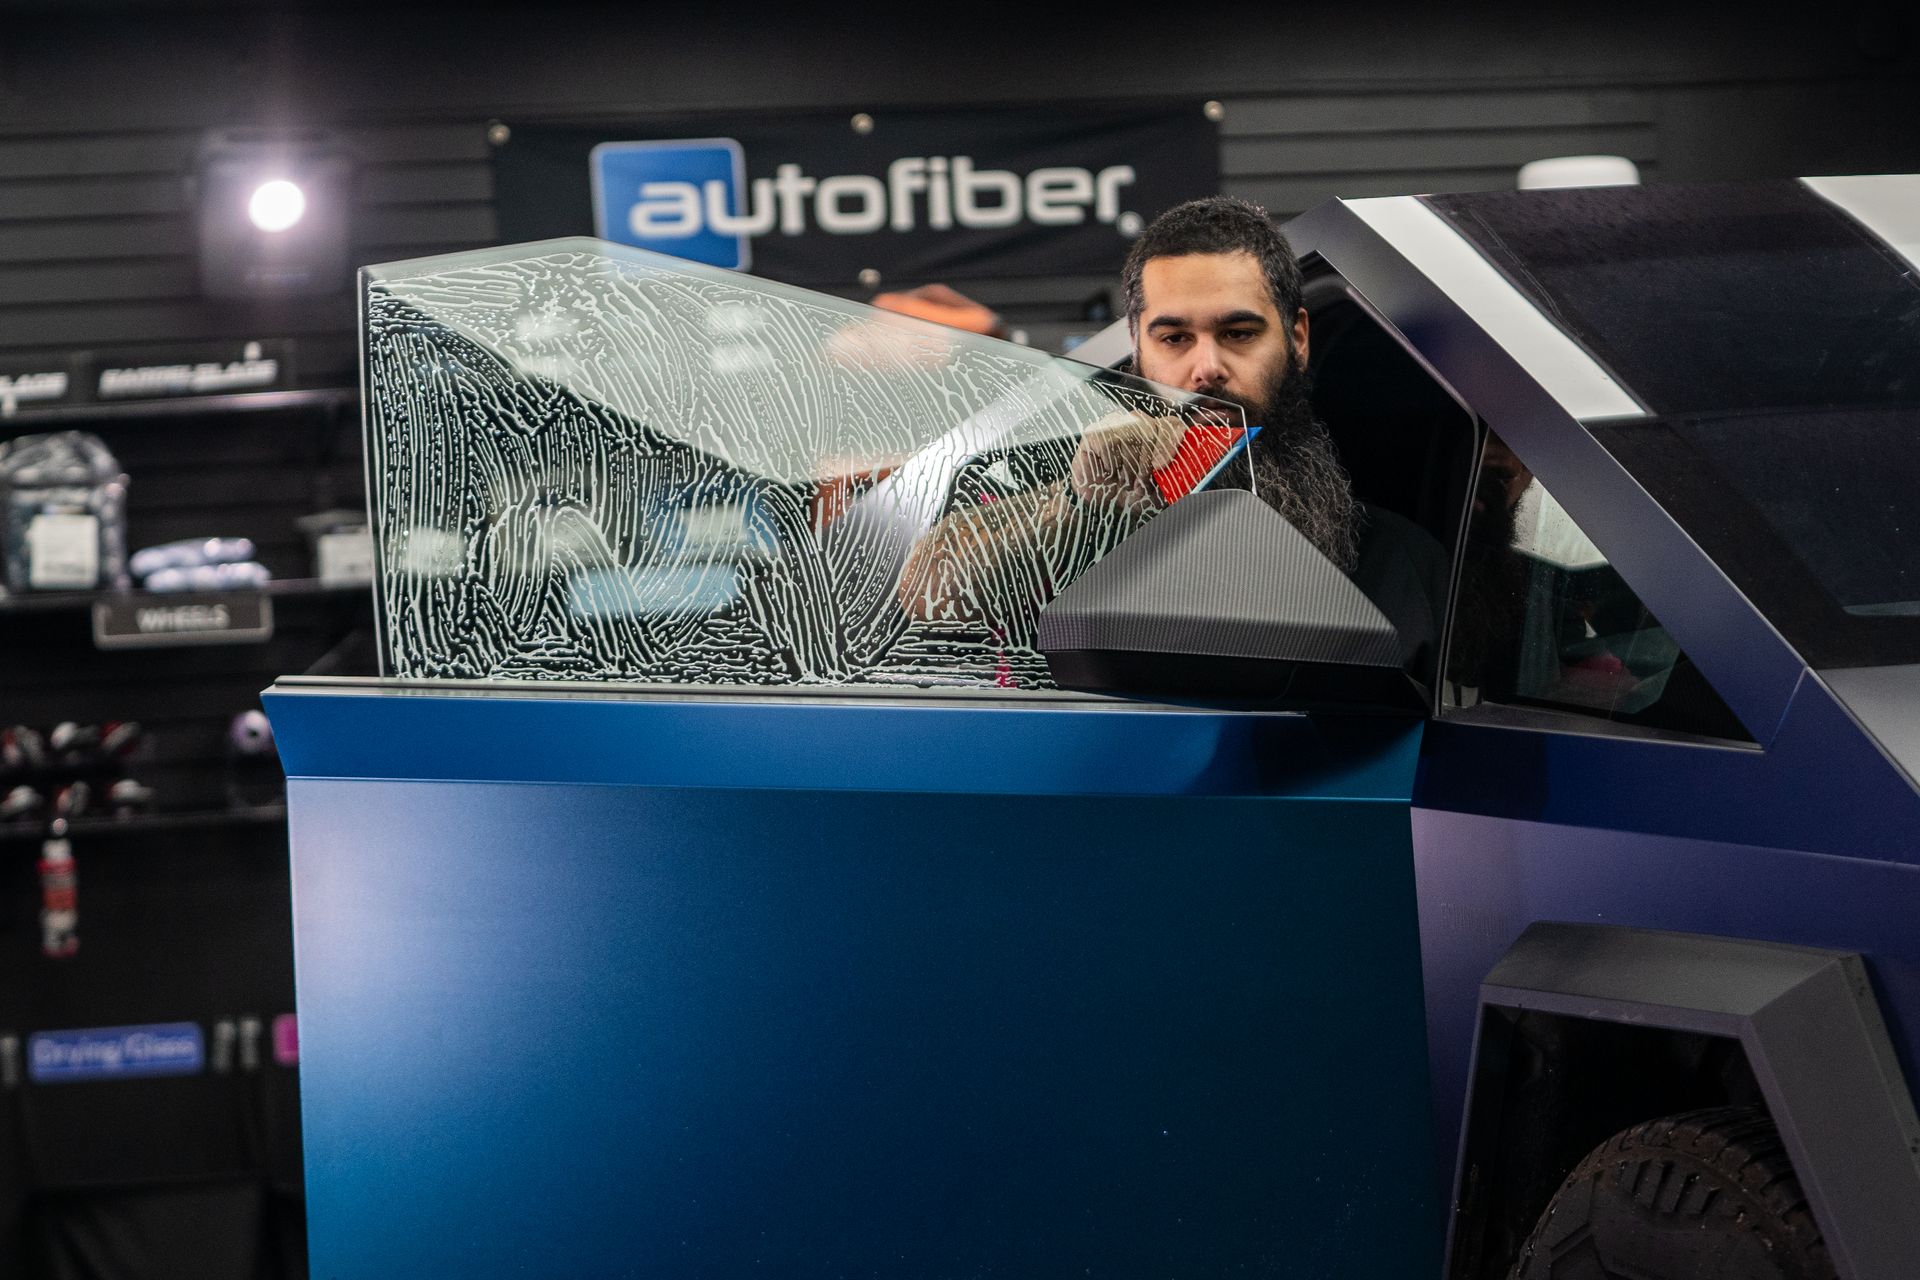
Here you see Patricia prepping the vehicle for paint protection film. Prep work is a very important part of the process. You are not just prepping the parts you are covering, but you are flushing out debris and dirt from crevices and adjacent body panels. For example, when covering this hood with clear bra, we needed to ensure that the windshield, cowl, and wiper areas were also clean. Why? Because most hoods are not straight lines at the top. Therefore, the film might be close to the corners but drape over the back during the initial lay down of film. If the film touches dirt in the cowl area, as the water / slip solution runs down the film, it will bring dirt and debris with it. In this particular instance, Patricia is steaming around the headlights after we had already cleaned the area.
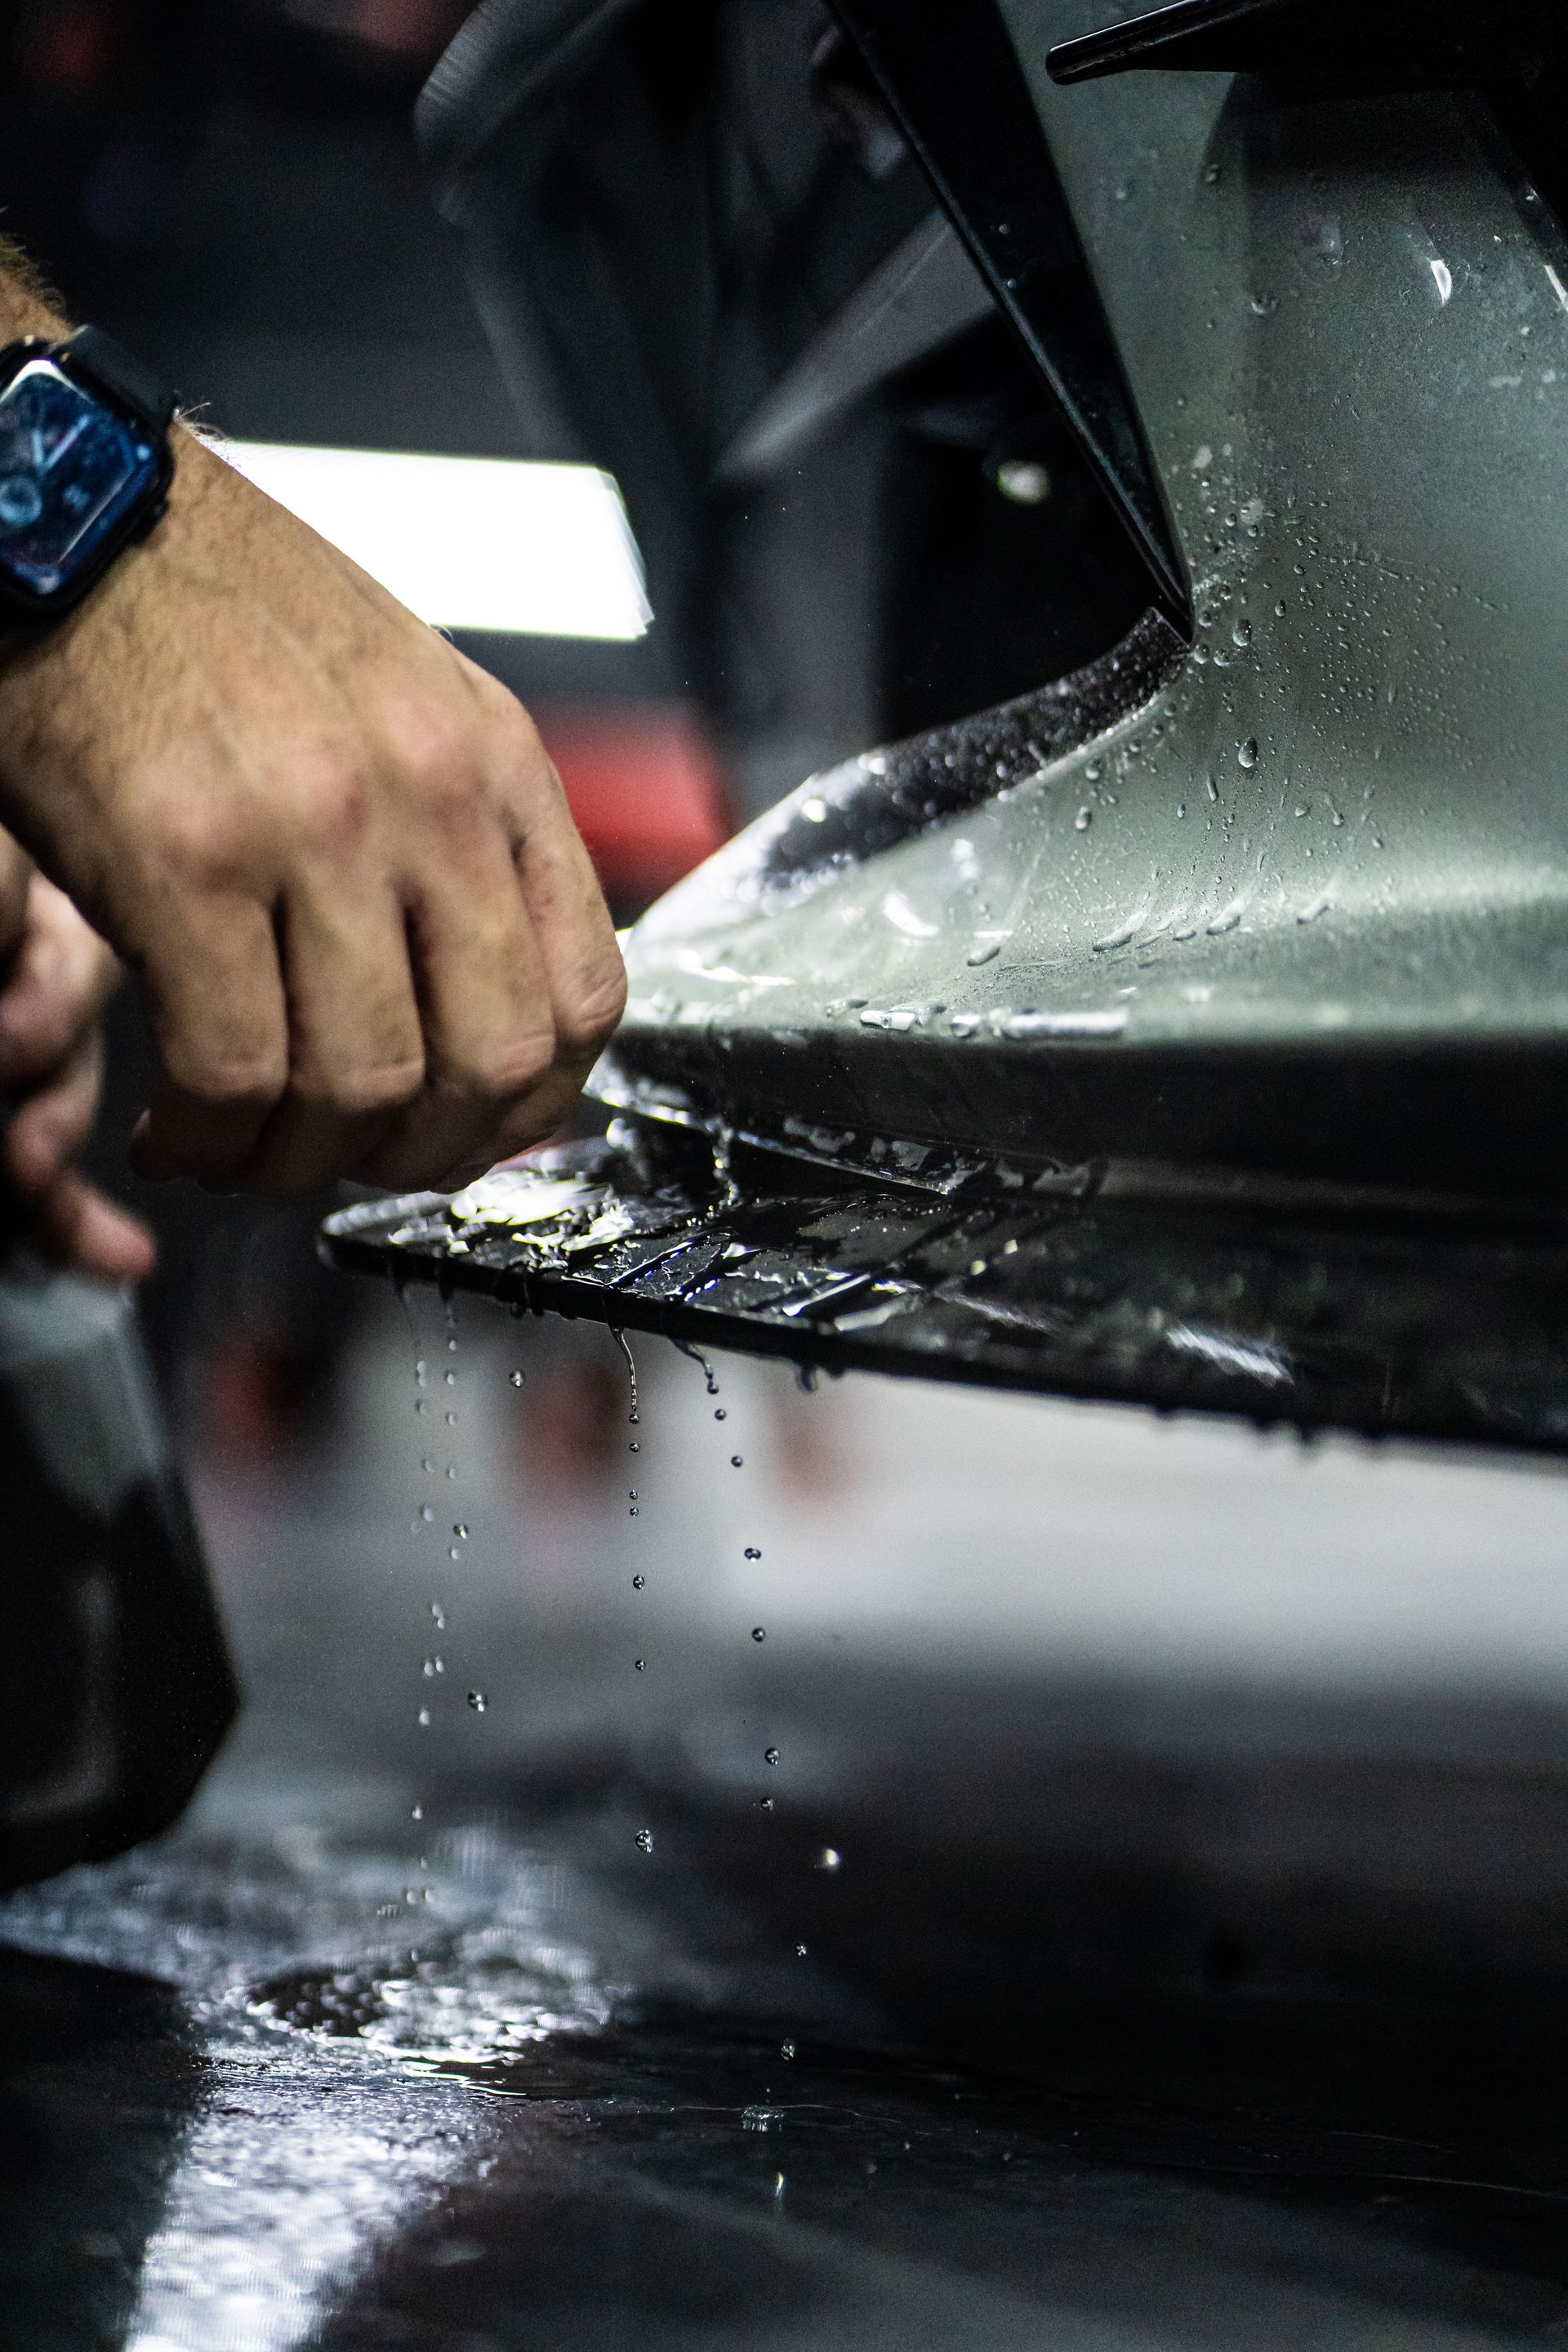
Certain bumpers are far more difficult than others for various reasons, such as the stretch, or nooks and crannies that are sharp or difficult turns that make attaching the film difficult.
Installing clear bra on a hood is generally the easiest and fastest in our experience, with exceptions, of course. Here, the bumper on this Tesla Model Y Performance was the most difficult. The pattern we cut on our Graphtec FC9000-160 plotter was 103″ long and still needed to be stretched quite a few inches.
What we installed
Ceramic Pro Kavaca Paint Protection Film
Probably the most popular clear bra package that people choose is “full front.” On a full front package, it includes the front bumper, fenders, hood, headlights, and mirrors. For a few hundred dollars extra we add partial or full A pillar protection as well as rocker panels. Many people classify this as a “track package” – although there is no exact industry standard. We call it a track package because it’s largely covering every single place where you might get a rock chip if you were driving the vehicle on a track. In the case of Teslas, many owners opt to have the full track pack PPF installed, as they are known to get rock chips in their rocker panels.
This Tesla bumper is mostly laid down with the initial fit. Some trimming and touchups will always be needed, but this is a good initial look. That's right, this bumper is now covered in PPF. Can you tell?
After we completed the installation of the clear bra, we then coated the remaining parts of the vehicle with Ceramic Pro Sport, an amazing spray ceramic coating that is warrantied for six months through Ceramic Pro and shows up on the vehicle’s CarFax, but typically lasts around 12 months instead with proper care.
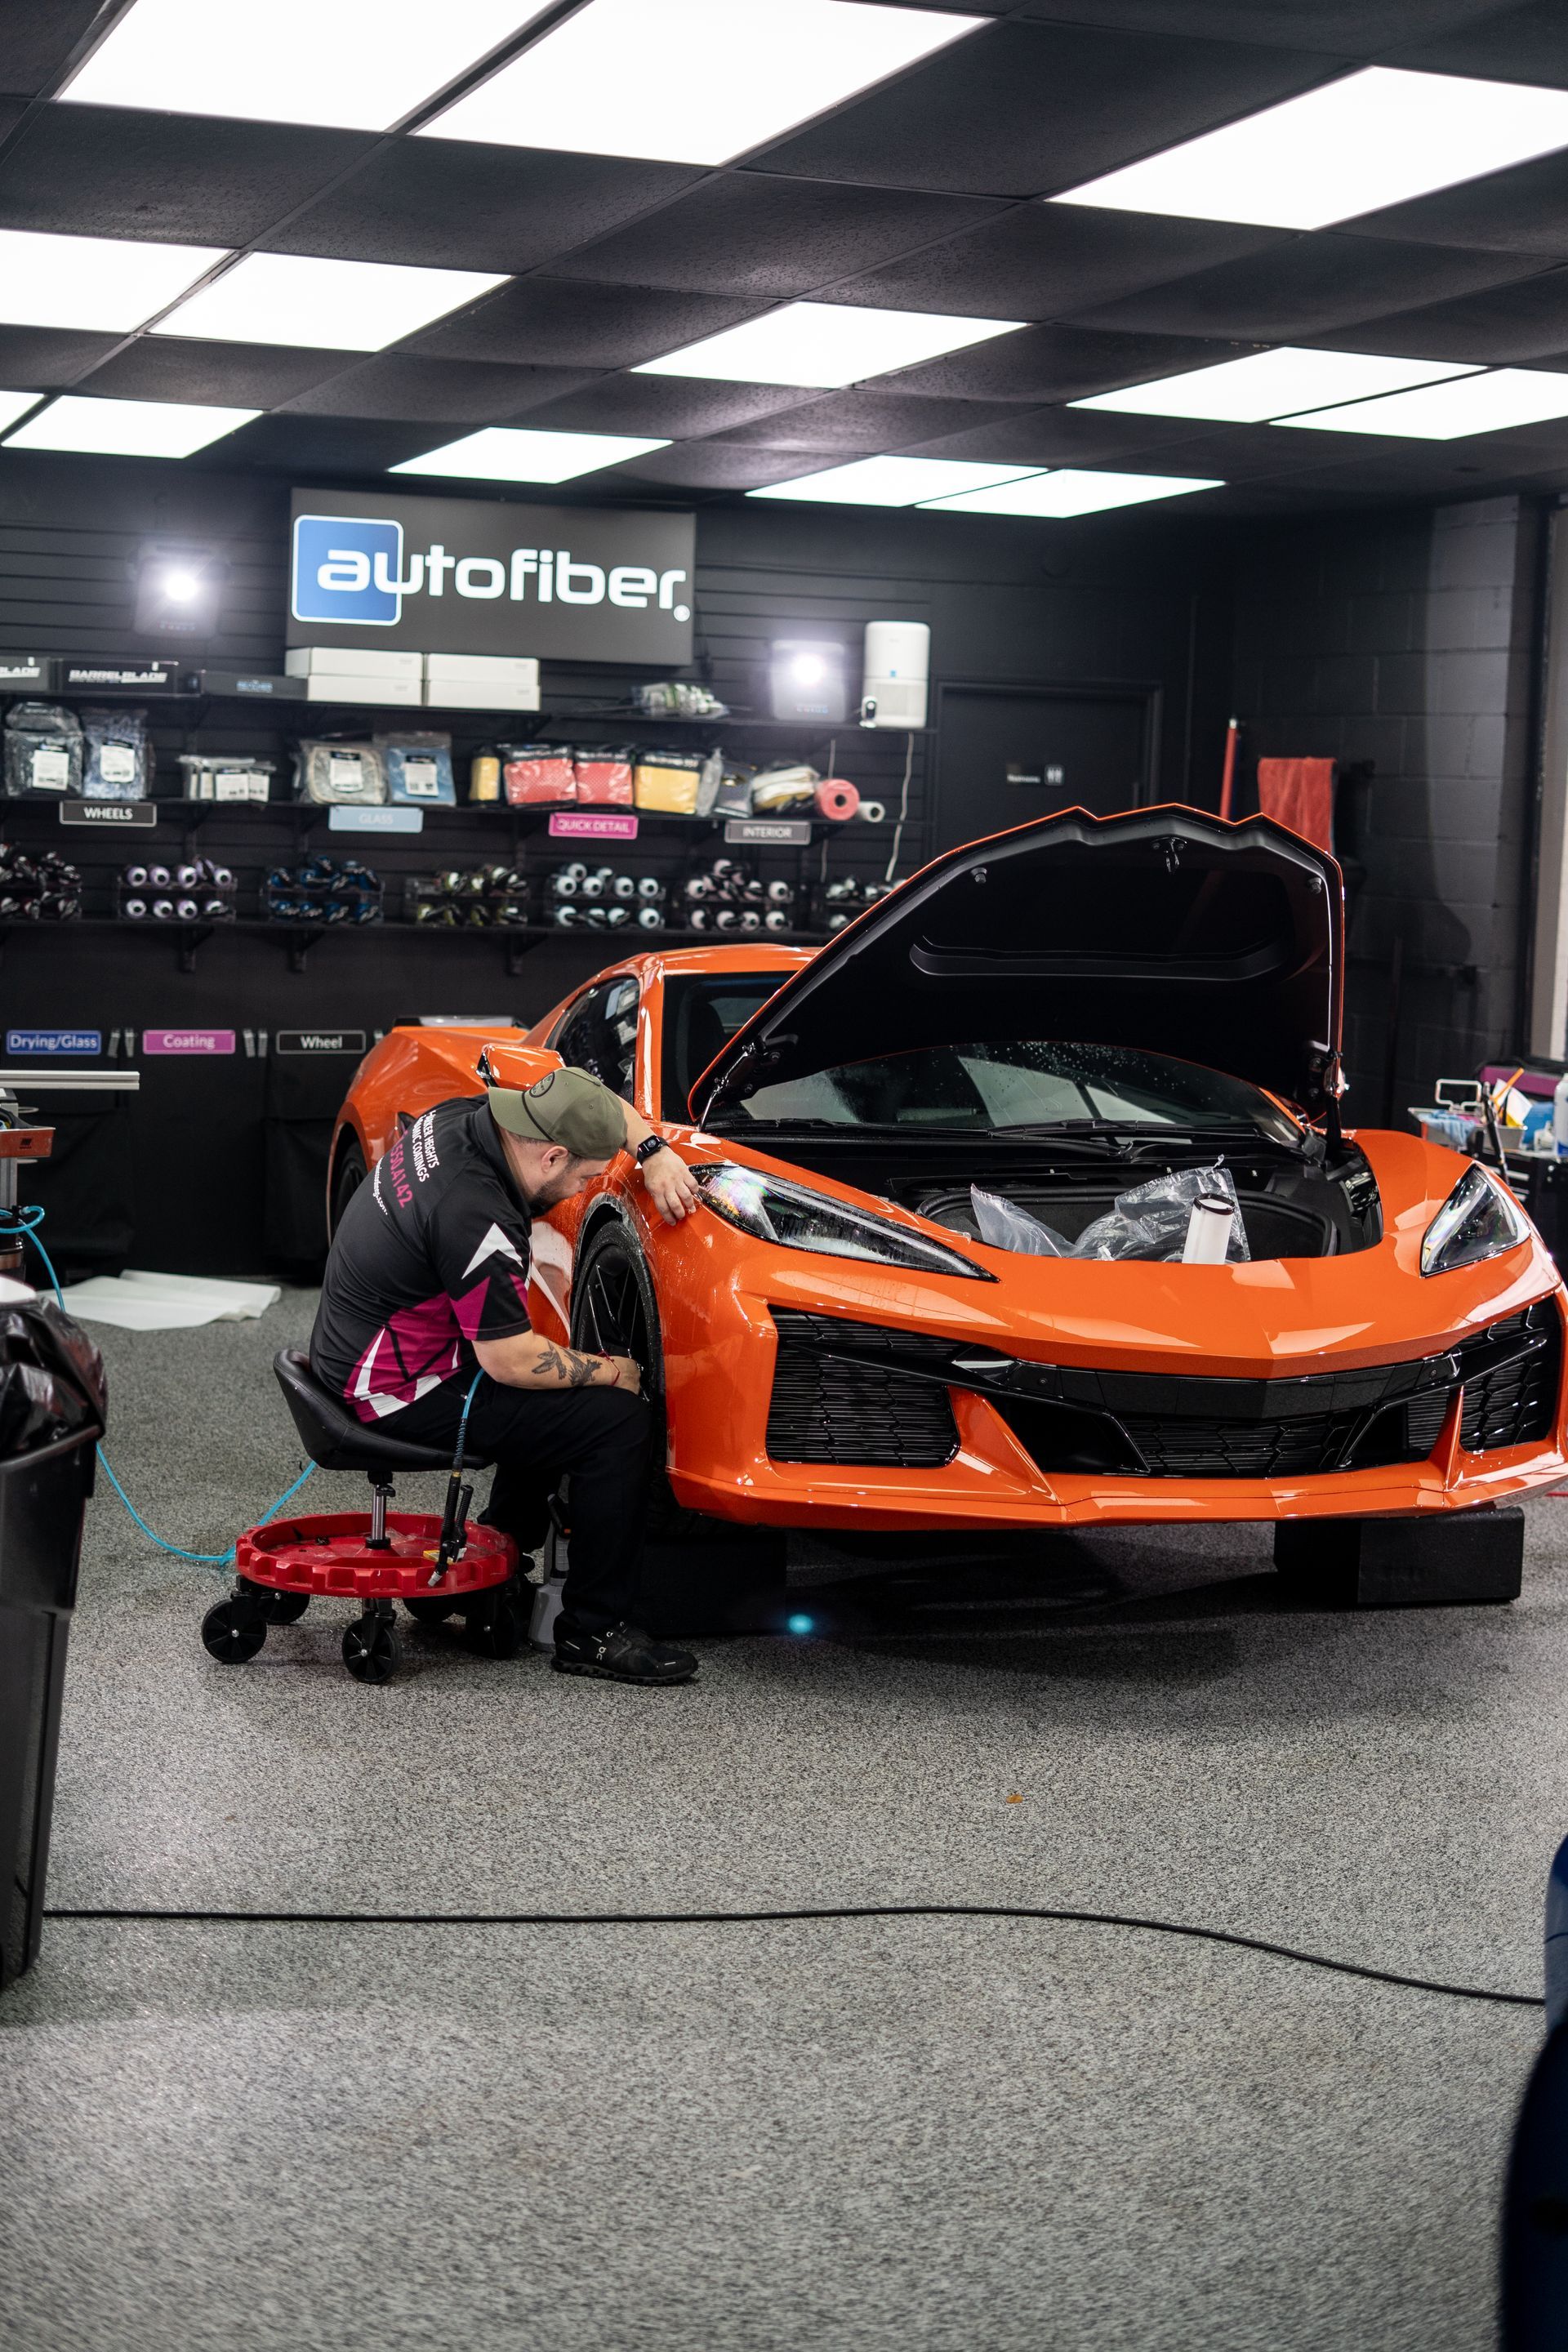
Additional Pictures
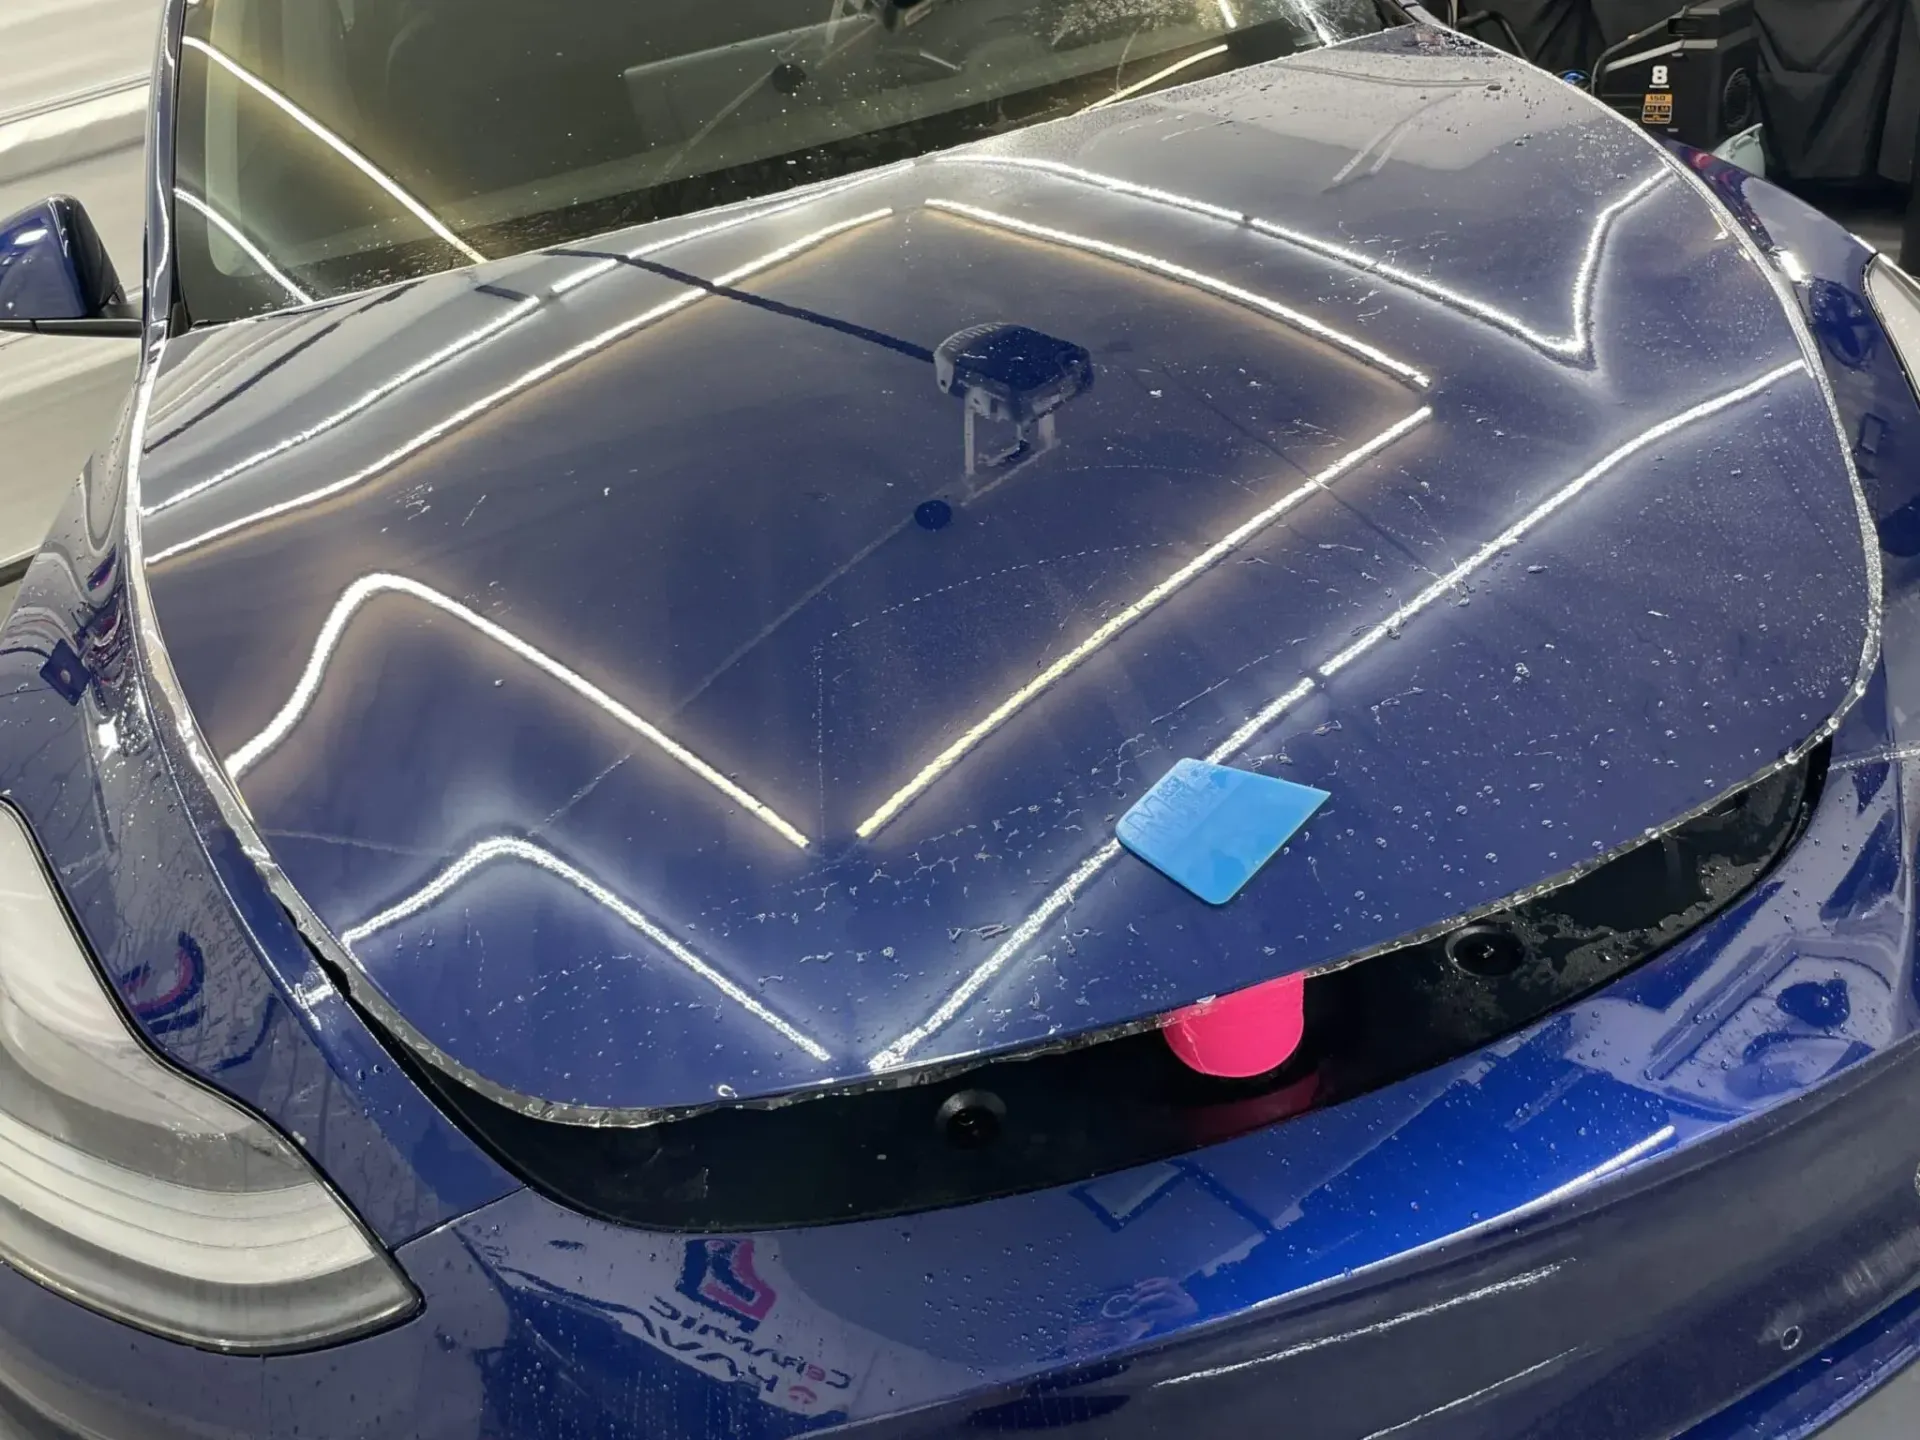
Now we are making progress. This Tesla hood is fairly easy, albeit a bit large. This photo shows us after we have cut away a lot of the film, but have not wrapped the edges as of yet.
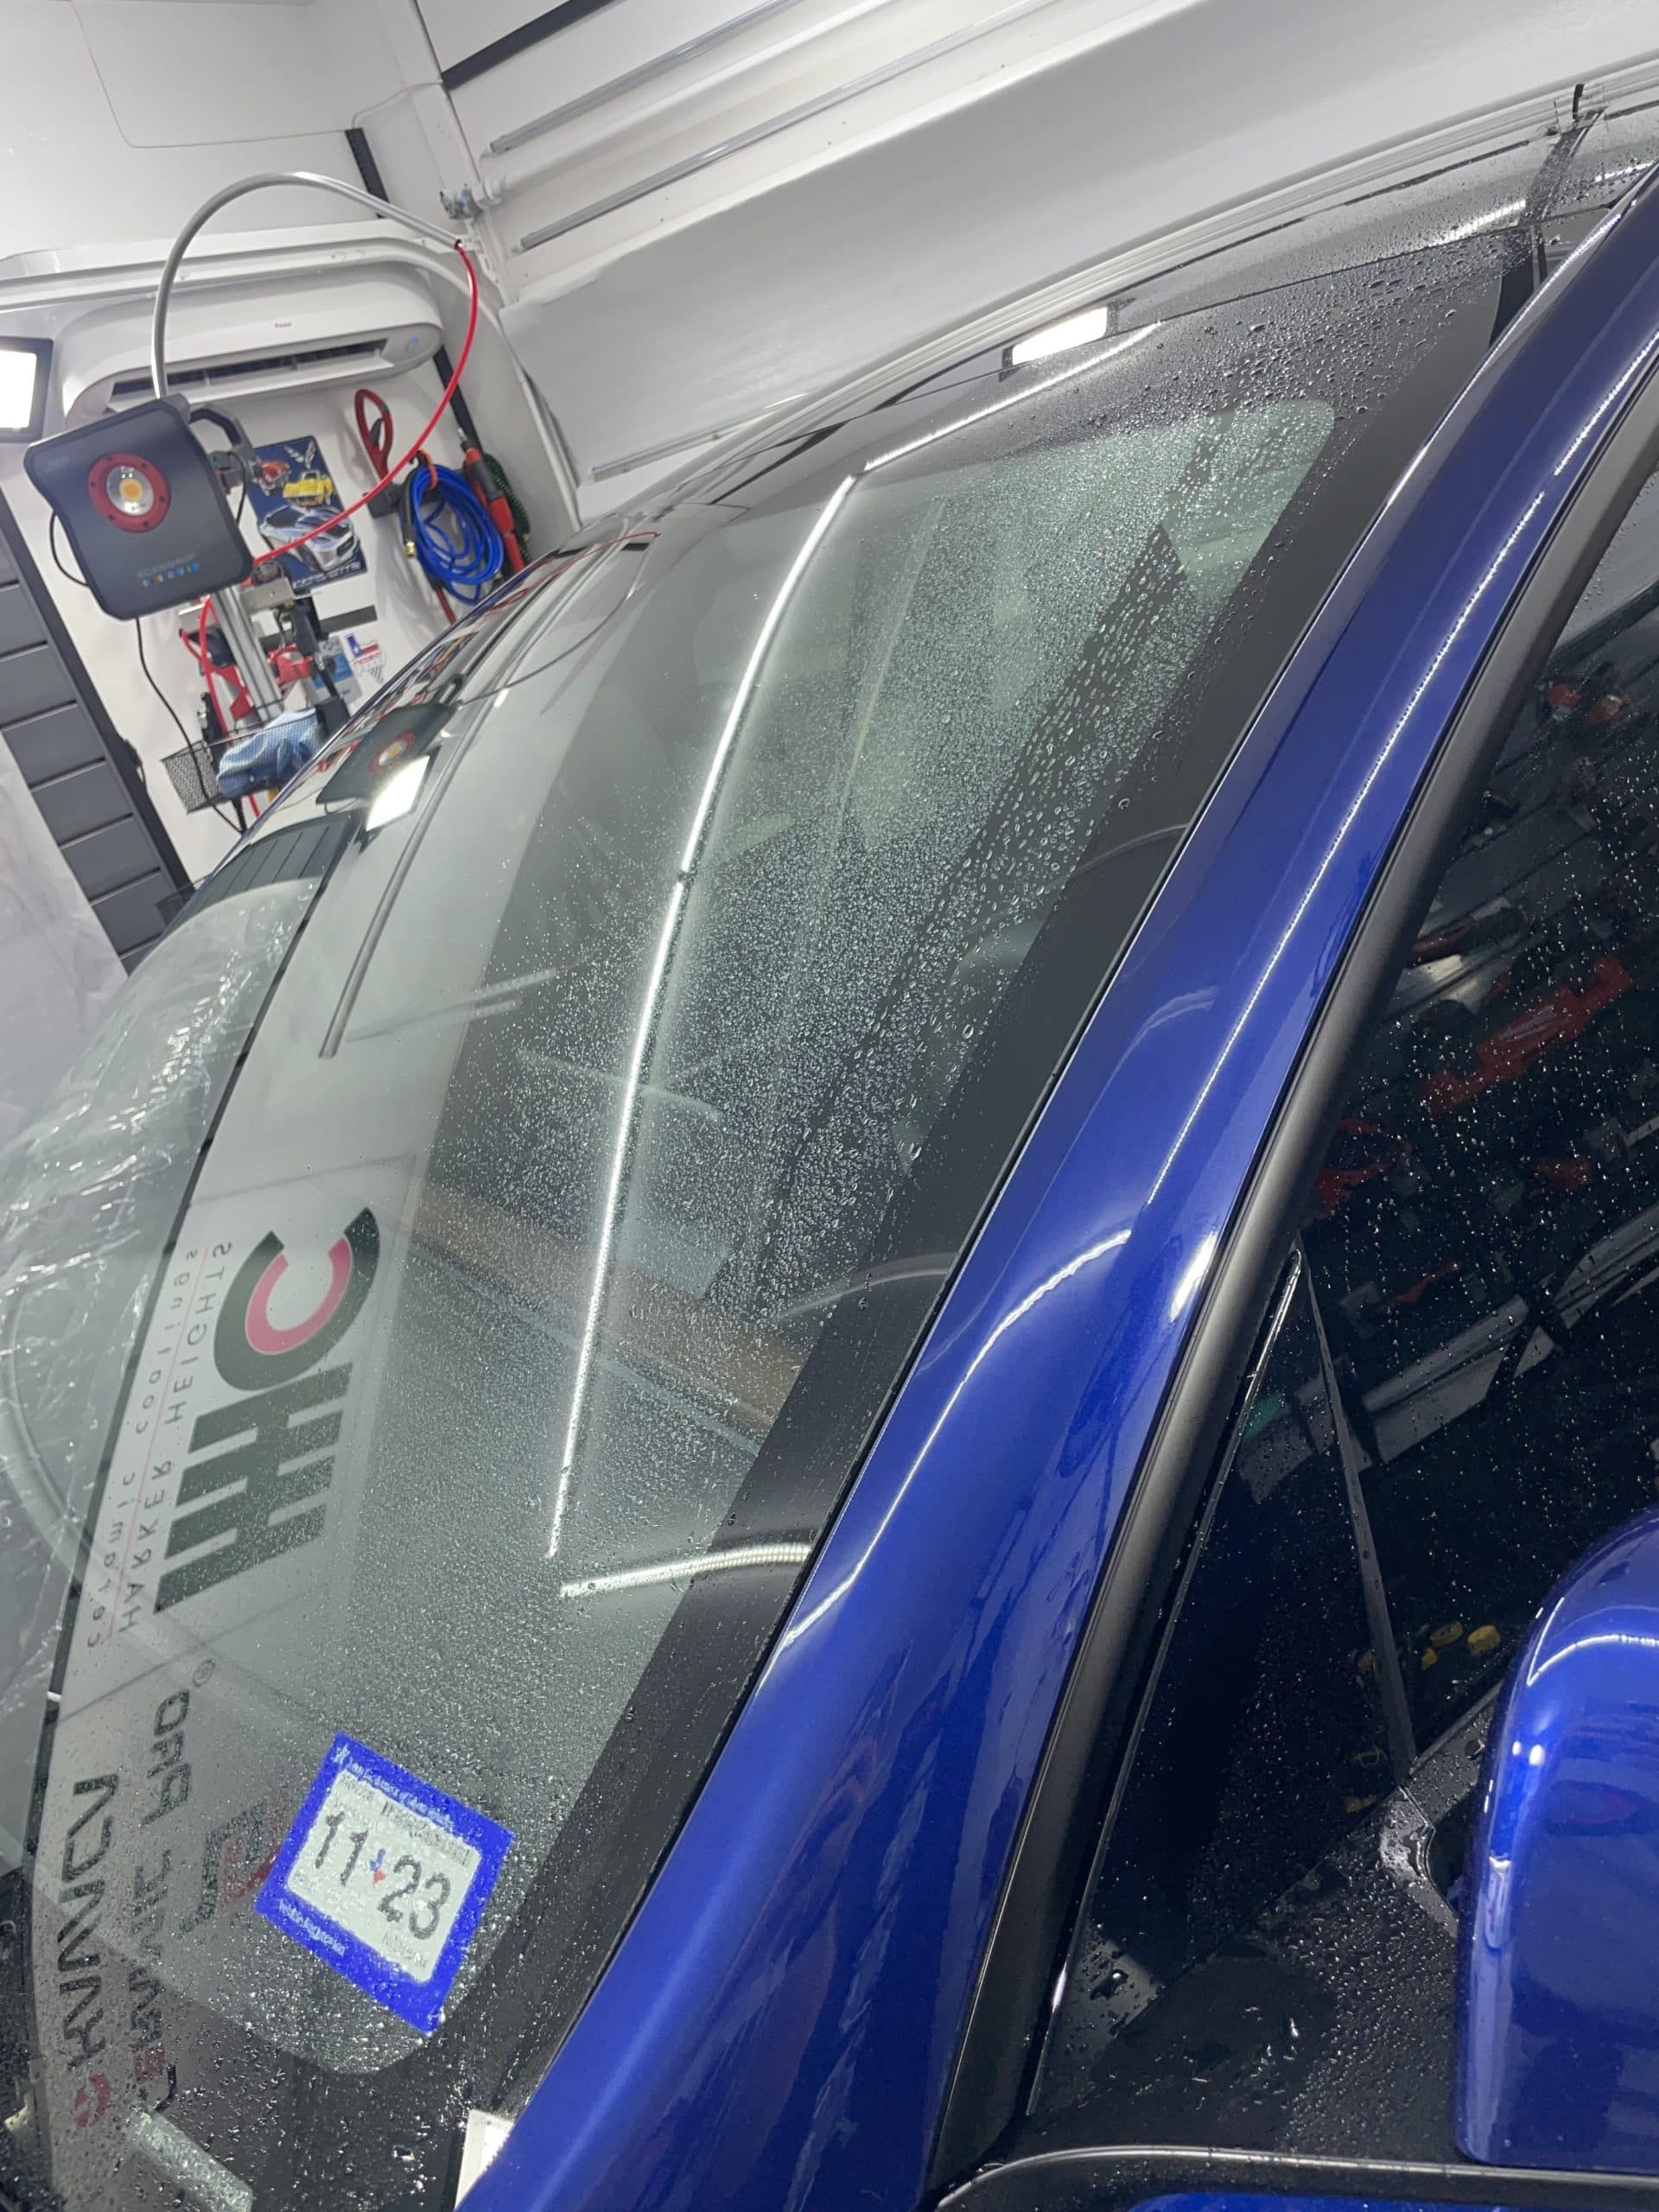
You might remember that we mentioned we do the partial or full A pillars in our track package. You can see on this Model Y a completed pillar.
- This is another tool to help combat contamination under the paint. Notice that we removed the plastic fender guards on this Tesla and also put vinyl wheel covers over the wheel. We do this to prevent dirt and contamination should the film accidentally touch the wheel during the installation process.
- This is the initial lay down of the very large Tesla Model Y bumper. Your first inclination might be that it is an easy installation since the bumper is so flat, but as we mentioned earlier, this Tesla bumper (and others like it, such as the Model 3) is an 8 out of 10 difficulty due to the amount of tension and stretching needed.
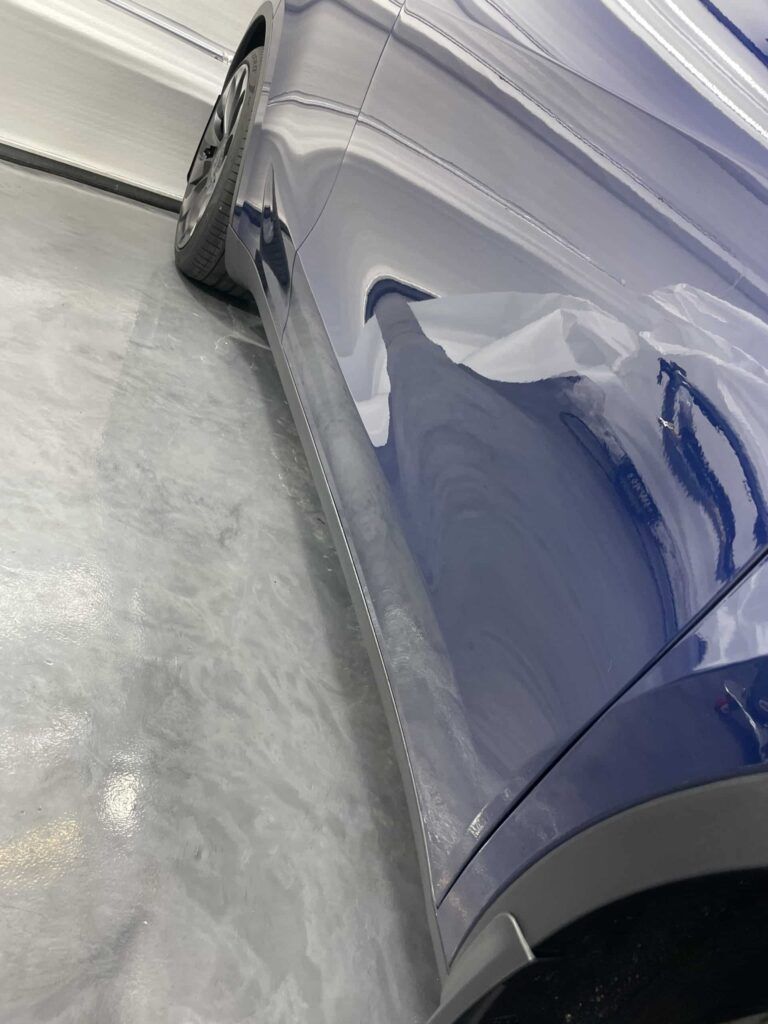
Here is the passenger's side completed rocker panels. Can you see the seam on this Tesla?!